cake pop tutorial
in tutorial
so my attempt at hello kitty cake pops failed miserably. probably
because 1. i used triple chocolate fudge cake which showed through the
white candy melt and 2. the edible ink pen i had didnt work properly, but i improvised
and was still happy with the results.
so here's the cake pop tutorial i've been promising...i hope you guys try it out!
Things you will need
Cake-any kind of cake you prefer
Icing-any flavor you prefer
Lollipop sticks
Candy melt
Sprinkles
Foam blocks
start by baking your cake and letting it cool. once the cake is cooled
crumble it into a big bowl. mix in some icing slowly. this step is
extremely important because you don't want the cake to be too dense and
sweet, yet it has to be moist and have enough icing to stay together. i
usually use about 3/4 of the can of icing for a 13x19 cake.

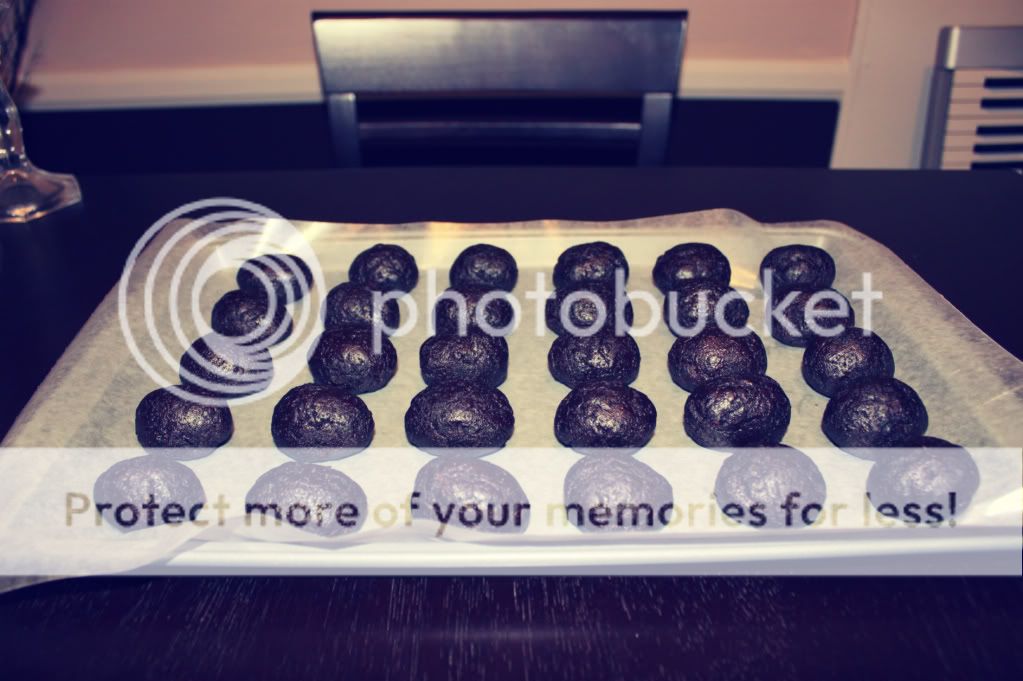
after you combine the cake and icing, lay some wax paper on a baking
sheet. Start forming little round balls from the mixture. You should get
about 24-30 balls depending on how big you make them. Chill the cake
balls in the fridge for about 30 mins to an hour.
when you remove the cake pops from the fridge set them aside and prepare
some melted candy melt in a small bowl. Be careful not to burn your
candy melt. I usually heat mine up in 30 second intervals. Dip you
lollipop stick in the melted candy melt and insert the stick halfway
into the cake balls.

after you insert the lollipop sticks, use the candy melt as 'glue' and adhere two white chocolate chips to form the ears for hello kitty shape. if youre doing normal cake pops, this step is not necessary.

after the chips are adhered, melt the rest of the candy melt in the microwave (30 second intervals). dip the cake balls in the melted candy melt. try to make it a one swift dip and tap off the excess chocolate. while the candy melt is still wet, decorate with sprinkles as desired and stick in the foam blocks to dry.

viola! there you have it. yummy, delicious, super cute cake pops that are easy, but make an adorable statement. i hope you guys try it and enjoy! let me know how it goes. xoxo
Popular entries
-
 March 2011 Suri & Katie decided to add some hamburgers to their menu and stopped at Vera's Hamburgers in Vancouver on Sunday, 6. Aft...
 -
it seems like just yesterday that i was sitting in my cubicle miserable and hating corporate life. i decided to make a change and when i dec...
-
 NY, December 2008 Suri accompanied Katie for her matinee show in the Gerald Schoenfeld Theatre for “All My Sons” in New York City on Sunday,...
 -
 Thanks to Julie for pointing out the Louboutin/RSVP part of this find! Christian Louboutin's satin slides with bow originally retailed f...
 -
 Resort 2011 inspirations via style.com. Bottega Veneta Chanel Diane von Furstenberg Michael Kors Yves Saint Laurent Zero + Maria Cornejo Bea...
 -
here are the final shots from the clout magazine feature i styled with model tia tanaka shot by john agcaoili with hair and makeup artist a...
-
 Darlings, it's time to start thinking about Valentine's Day, and that means lots of lovely lingerie! Vera leopard print lingerie set...
 -
A couple of days ago I made a post inspired by Holly over at Life In the Fun Lane where you could ask me any questions you like and said I ...
-
 November 2010 Suri & Katie took a flight on private jet from Fort Lauderdale, FL on Tuesday, 23. ha! Suri shopped in the "Allure of...
 -
 Darlings, CC is so excited to introduce you to InStyle Swimwear , a fabulous online site for designer swimwear. Without a doubt, Juicy Coutu...


